Monday, June 30, 2014

Back-To-Basics Water Storage Part 1

Print Friendly and PDFPrint Friendly
Welcome to the first post in my Back-To-Basics series.  My goal is to have a new topic up each week, but today we're starting with.....


I think everyone will agree that we all need water to live.  Our bodies can't survive longer than three days without it and that's why it is number one when it comes to food storage. This is also the easiest part of food storage to accomplish because water is fairly inexpensive, easy to get, and most containers for storage are easily found. 

If you don't have any food storage at all, I urge you (silently begging you) to get your water storage done today!!  

A gallon per person per day is the bare minimum that you will need to store. Youngsters, nursing mothers may need more. My water was shut off one day, due to construction, and it took almost 3 2-liter bottles of water to just wash my hair.  That made me pause and realize how much water I was going to need with 4 daughters.  But in all seriousness I'm thinking that 2 gallons per person would give each person enough water for hygiene, laundry, cleaning, and drinking.  See if you can get 2 weeks stored away (that's 28 gallons per person) and that would be a great start!  It's only a start because there really isn't a feasible way to store a year's worth, or longer, of water.  You will need to find water from another source after your stored water runs out. 


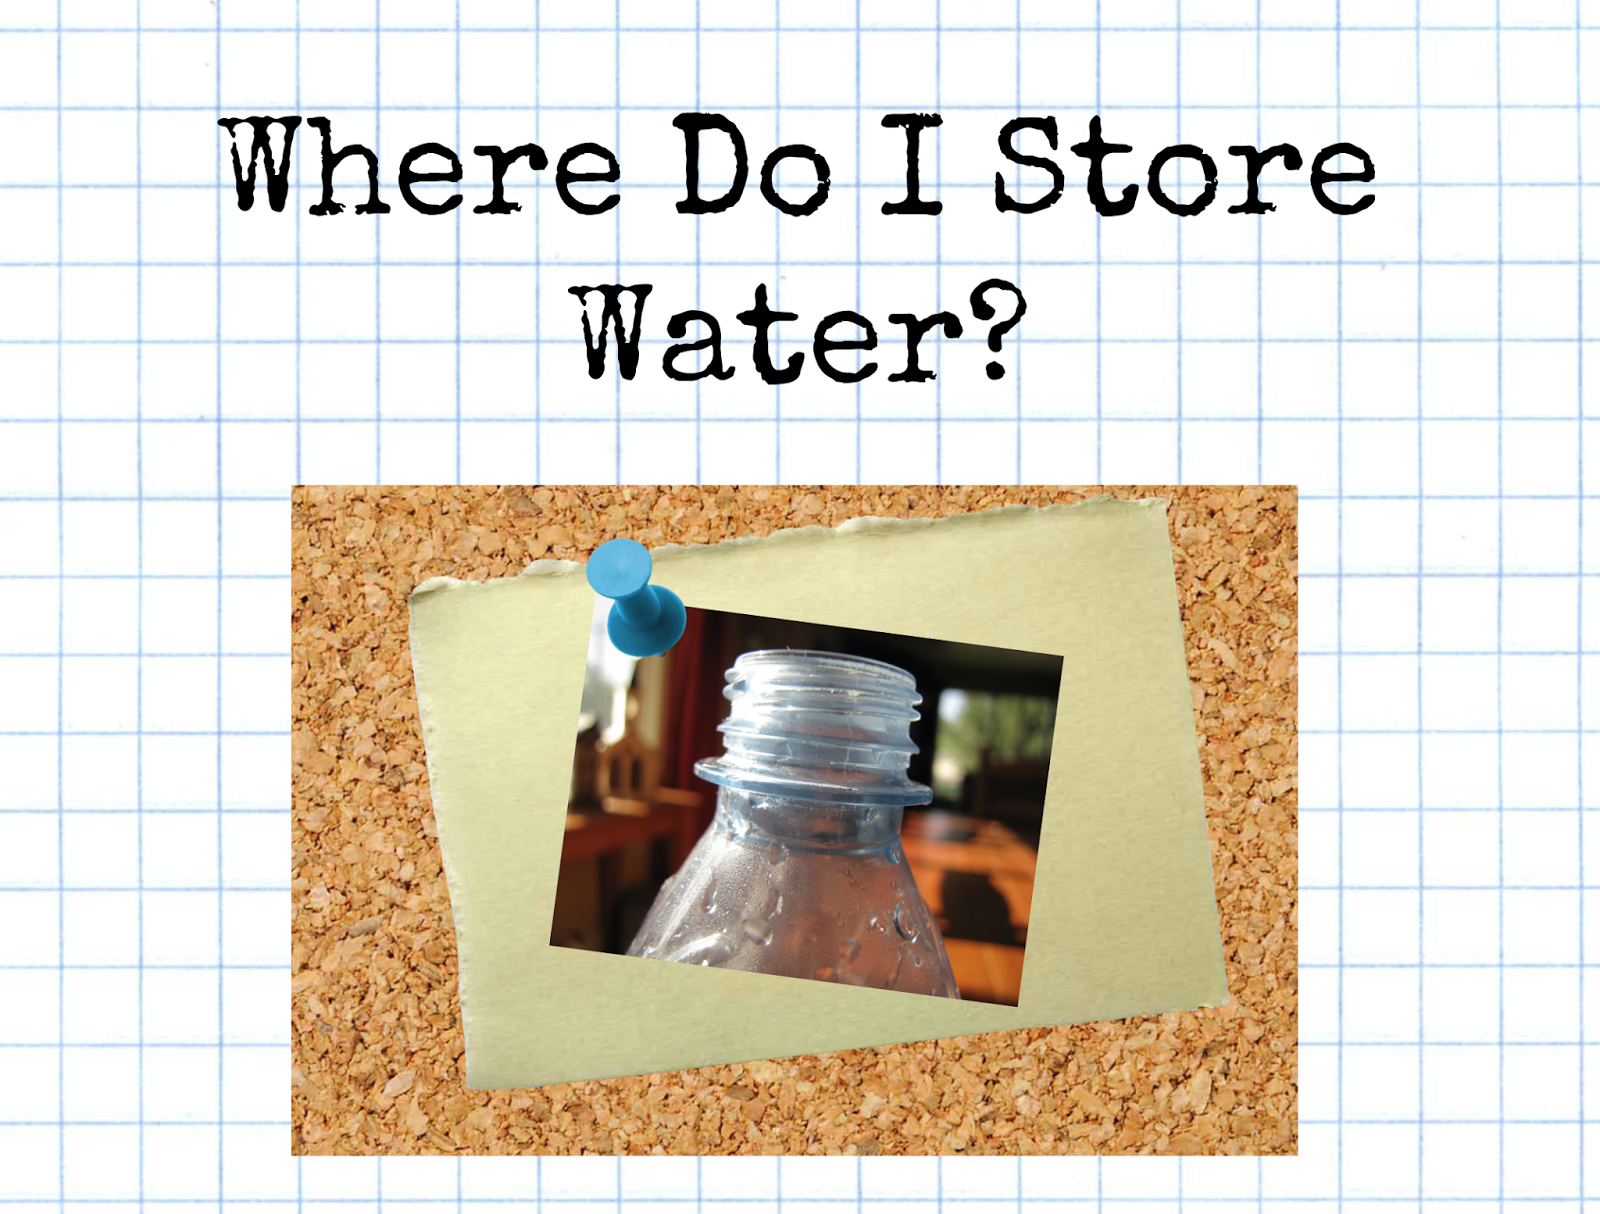
  • 2-liter soda bottles, juice bottles, laundry detergent bottles....NOT milk containers...they will break down and leak.  Clean the soda and juice bottles with soapy water, or a small amount of bleach, and let air dry.  Fill them with tap water and they are good to go.  The detergent bottles will store water used for cleaning. Make sure to mark them clearly as WATER.
  • Mason jars that aren't being used at the time.  
  • Smaller water bottles that come in 24 packs are great for everyday water needs.  
  • 5-Gallon water jugs, with a spigot
  • Water bricks (look online)
  • 55-gallon water barrels
Just remember to use clean containers and plain old tap water will be safe to fill them all up.  Keep a variety of water containers in different sizes.  If you only have 55-gallon barrels, you'll be sad when you have to evacuate and you can't lift one of those!  The smaller the container, the easier to transport.   Store your water in different places in your home.  If all of your water is in one area and that area gets damaged....I hope you have some strong men and lots of shovels.  Keep water in the garage, basement, kitchen, cars, under the bed, etc.  Try to store your water in cool, dry places.  The sun will encourage bacteria to grow.  (I would rotate water at least once a year that sits outside in the sun, but I don't rotate my water if it's in my house)


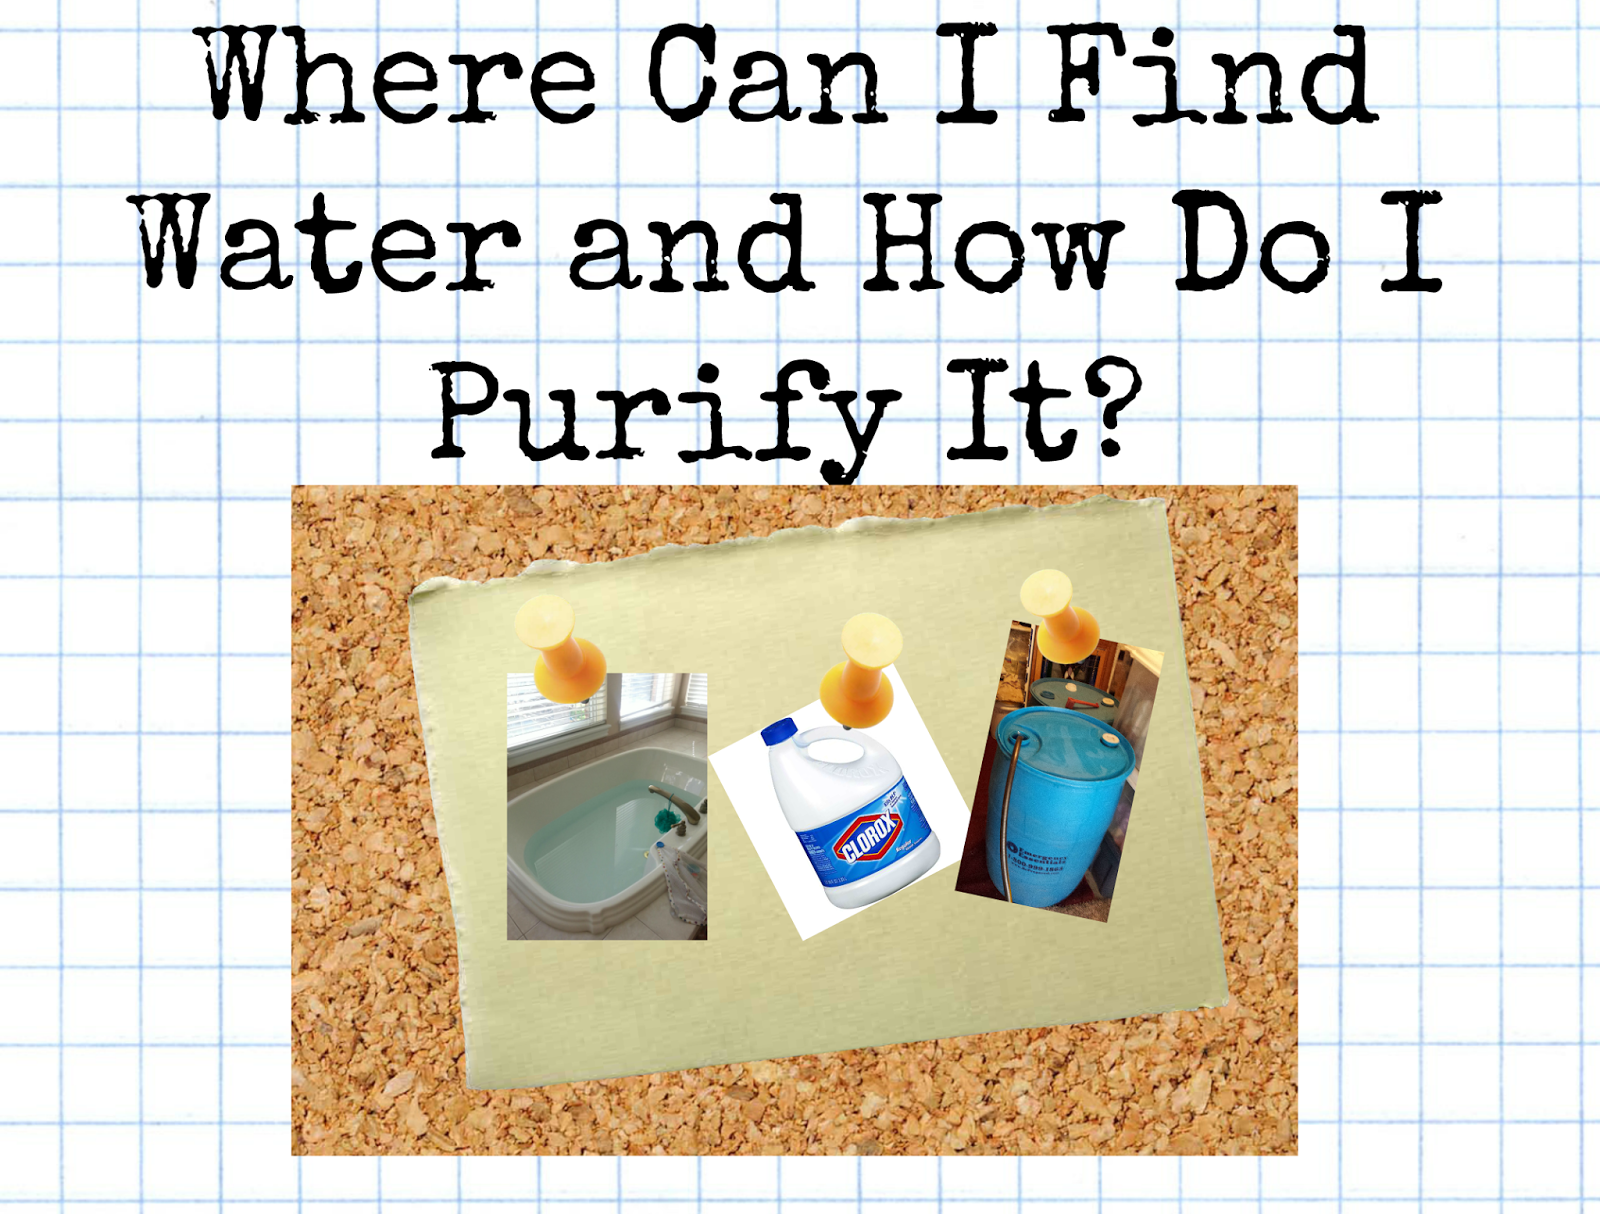
  • Lakes, streams, rivers in your area
  • Water heaters
  • Toilet tanks (not the bowl!)
  • Wells
  • Rain barrels
  • Liquid from canned foods
  • Melted ice from your freezer
  • Pools & spas, but use it for cleaning only!
  • NOT a water bed!!
Some of the above sources will most likely need to be purified.  If in doubt...treat it!!  Do you have the supplies to purify water?

Bleach:  
  1. Filter the water through a coffee filter, t-shirt, or any clean cloth.
  2. If you have a heat source, boil the water for a minute, but let cool down completely before adding the bleach.
  3. If you have clear water add 1/8 t-1/4 t (8-16 drops) of bleach and shake/stir.  Use 1t for 5 gallons of water.  Double the amount for cloudy water.  Make sure the bleach doesn't have any added perfumes or dyes. (1/8 t per 2-liter bottle)
  4. Wait 30 minutes.
  5. The water must smell like bleach to be safe to drink.  If is doesn't smell of bleach, repeat step 3.
Bleach does have an expiration time of about 8-12 months.  Make sure you are using and rotating it. I write the date I bought it with a sharpie before putting it on my shelf.

Boiling:
  1. Boil water for at least one minute. Water is purified the minute it reaches the boiling point, but if you let it boil for 1 minute, you'll be safe.  
  2. Make sure to filter the water first if it is cloudy or has debris in it.  
  3. Let it cool before drinking.  Boiling does leave a taste to the water.  Add oxygen back in it by pouring it between two containers before drinking. 
My theory is...if in doubt....purify it!!!  

Calcium Hypochlorite: AKA "Pool Shock"
  1. 1lb bag will treat 10,000 gallons of water.
  2. C.H. doesn't degrade like bleach does
  3. Only buy the granular type...not the liquid...it will degrade.
  4. 1 gallon bag will treat 1 gallon of water per day for a family of 4 or 6-7 years. 
  5. First make a chlorine solution of 1 C. of water and 1/4 t of C. H. (78%)*, mix until dissolved and DO NOT DRINK THIS SOLUTION!  It will be used to purify your water.
  6.  Add a 1/2 t of chlorine solution to 2 gallons of water. Stir or shake.
  7. Let sit for one hour minimum before drinking.
  8. Calcium hypochlorite can be found in pool supply stores, or where ever pool supplies are sold. (I found some at Wal-Mart)
  9. *C.H. does come in different strengths.  The store brands are usually about 52% and the stronger stuff, 78%-99% will be found at pool supply stores.  If you use the lower percentage you might need to purify the water more then once.  
There are also many water filters, and water bottles with built in filters, on the market today.  Do the research to find what works best for your family, or research a product called Steramine, found on Amazon. It purifies water too.  We are so lucky to live in a day in age where a couple clicks of the computer, or phone, and we get instant information.


  • buy a solar shower to conserve water when bathing
  • use spray bottles for hand washing....one bottle has soapy water and another bottle has clean water to rinse hands with
  • keep sanitizers in your storage for cleaning hands in times when water isn't really needed
  • use the juices from canned goods in cooking
  • use cups and a large container of water to dispense drinks. If you hand out water bottles to everyone, they will drink part of it and most likely waste the rest.  Picture your campsite/bug out spot full of the same water bottles and no one knows whose is whose.  (pack a sharpie to write names with your water supply)
Your goal is no more procrastination!!!  My next post will show you how I follow my own advice!  If you don't have water stored, start today!  If you do have water stored, add a gallon or two more. Knowledge is power, but that knowledge won't quench your thirst....commit to DO something today!! 

Friday, June 27, 2014

Back-To-Basics: A New Series on Food Storage

Print Friendly and PDFPrint Friendly
 Sometimes you have to get back to the basics and re-learn something you thought you already knew.  I started this blog about 5 years ago and in the last year, or so, I haven't blogged as frequently.  Hopefully I haven't forgotten too much about food storage!  But my church calling (job) changed and I didn't have the focus on food storage that I had before.  But, that will change now!  I am back in the prepping mode and with new motivation.  So, I've decided it would be helpful to get back-to-basics, and get a refresher course in all things food storage related.    


For starters we are going to learn all there is to know about storing water and then all about having a 3-month supply of food.  It can be intimidating and I feel I lose a lot of people before they have even started, just because they don't know where to begin. I will break it all down and explain how I do food storage, and hopefully that will help all of you!  Cause there isn't just on way of doing things.  I learn so much from others and find new ways of doing things that I wouldn't have thought of by myself.  Check back next week for part one of my Food Storage Back-To-Basics Series!! 

Wednesday, June 25, 2014

Prepare Today Homemade: Chia Millet Granola

Print Friendly and PDFPrint Friendly
I am always on the lookout for a great granola recipe and I have found a new favorite!  Breakfast foods have sounded so blah to me lately and nothing has sounded good to eat.  Well, I have a new favorite breakfast and have been eating this deliciousness everyday for the last 2 weeks.

It's chock full of seeds, oats and flax.  One of my favorite parts of this granola is that is has chia and millet in it.  Yes, millet is in bird food, but it really is produced for people too!  Both are gluten-free as well.  Millet is easy to digest, has a high fiber content, b-vitamins, thiamine, riboflavin, and more!  Chia is a seed that has a really high omega-3 content, lots of protein, and is rich in calcium.  This is great nutritional information for vegetarians, like myself.  Chia also absorbs more than 7 times it's weight in water and can be used as an egg substitute.  
-------------------------------------------------------------------------------------------------------------------------
Chia Eggs:
2 t. ground chia seeds
1/4 C. water
Mix together and let stand for 5 minutes.  This will equal 1 egg. 
--------------------------------------------------------------------------------------------------------------------------
Both of these "grains" are packed full of nutrition, but they taste great too.  You almost can't even tell they are in the granola.  

Chia Millet Granola
4 C. quick oats
1 C. uncooked millet
1/4 C. ground flax seed
2 T. chia seed
1/2 C. brown sugar
1 t salt
1 t cinnamon

Mix ingredients above in a large bowl. Stir to combine.

In a microwaveable bowl, combine:
heaping 1/4 C applesauce
1/2 C. brown rice syrup
6 T. peanut butter

Microwave for 1 minute and stir well.  

Add in: 
2 t vanilla

Add the wet ingredients into the oat mixture.  Stir until combined.  It may take a minute to get all the mixture moistened, but it will get there.  Place on a greased jelly roll pan and pat down slightly.

Heat the oven to 325° and bake for 25 minutes, stirring once halfway through.  Stir the granola after cooking so it doesn't stick to the bottom of the pan.  Let cool in the pan for a few minutes.  Once cool, store in an airtight container.  Makes about 10 cups.

Add in any dried fruit, nuts, seeds, etc.  I really like to add freeze dried fruit to mine.  It's also really good mixed in with the cereal I posted about last week.

It is crunchy, sweet, and delicious!  AND it uses many ingredients from my food storage.  Chia has a shelf life of at least 5 years!  I love that!  And I have been noticing it in more and more stores lately.  The brown rice syrup in the recipe is also found right in your grocery store. A few years ago I couldn't find that stuff anywhere local!

This is an example of  how yummy food storage is, and that it doesn't need to contain wheat and powdered milk to be considered food storage ;)  

Eat what you store......store what you eat!!!

Sunday, June 22, 2014

Big News!!

Print Friendly and PDFPrint Friendly
I have some big news!  Guess what calling I got today at Church??  (I am a member of The Church Of Jesus Christ of Latter-Day Saints, and we are asked to lead and teach each other through different callings, or jobs, in the church.)  I am so excited that I will again be my new ward's Food Storage Specialist!  

That means I'll be posting more frequently and trying out new and old food storage recipes.  I look forward to this opportunity and to also get to know the members of my new ward.  I came across this video today and it touched my heart.  


Tuesday, June 17, 2014

Prepare Today Homemade: Homemade Honey Bunches of Oats Cereal

Print Friendly and PDFPrint Friendly
As pay day comes closer, out pantry gets smaller.  And my children claim that there isn't anything to eat in the whole house.  Translated...they don't want to make anything in the house.  One of the items that are dwindling in our pantry is cold cereal.  It's not the healthiest, but it's quick and my kids like it.  For a June day, it was only 40° outside, so I decided it was a good day to heat up the kitchen with some baking.  


Clear back when I started this blog, I remembered a recipe for Honey Bunches of Oats cereal that I posted.  Could I find it anywhere on this blog?!?!  I figured it I couldn't find it then you probably couldn't either.  I went through almost every post I wrote during my first year of publishing this blog, and I found it!  It turned out to be one of the easiest recipes I've made in awhile and tasted good too!


Boil the sugars and mix in with the oat/cereal mixture.


Homemade Honey Bunches of Oats

10 C. quick oats
1 18oz. box of corn flakes cereal 
1 C. of honey or corn syrup (I used honey)
1 C. brown sugar
1/4 C. water

1. Preheat oven to 300°.  Stir together the quick oats and the cereal in a large bowl.

2. In a small saucepan combine the honey, brown sugar, and water.  Bring to a boil and stir until sugars are dissolved.  

3. Pour sugar mixture over the oats and stir until combined.  Spread onto a greased cookie sheet.  Keeping the thickness to about 1/2".

4. Bake at 300° for 30 minutes.  (I felt it needed a minute or two longer so I stirred it before cooking 5 minutes longer)

5. Let sit until cooled and store in an airtight container. Will last 2-3 months if tightly sealed. 


It tasted just sweet enough and had a good crunch to it.  My kids are so excited to try it for breakfast tomorrow.  

Update:  This batch lasted only a few days. It was really good!  Every single one of my kids ate it!  All 5 of them!  This is definitely a keeper!!

Friday, June 13, 2014

Chilling Food Without Electricity- The Zeer Pot

Print Friendly and PDFPrint Friendly


I just received my Every Needful Thing monthly newsletter, from the Global Sun Oven company, and this article really caught my interest.  Chilling Food Without Electricity by using a Zeer Pot.  A Zer Pot is a grouping of terra cotta pots and wet sand stacked together, and used to keep produce chilled.  It can help produce stay fresh, and edible, for up to 20 days longer than without a fridge.

http://www.sunoven.com/wp-content/uploads/2014/06/zeer-pot-diagram.png
Zeer Pot from Prepare Every Needful Thing

Click HERE to read the full article on how the Zeer Pot is made and why from the Global Sun Oven newsletter....Every Needful Thing.


Click HERE to sign up to receive the newsletter.  It's free and has so much information on preparedness.

And Click HERE for even more information from 4dtraveler.net. This link has great info on how much it cost to build a zeer pot and where to buy the materials. 
Related Posts Plugin for WordPress, Blogger...